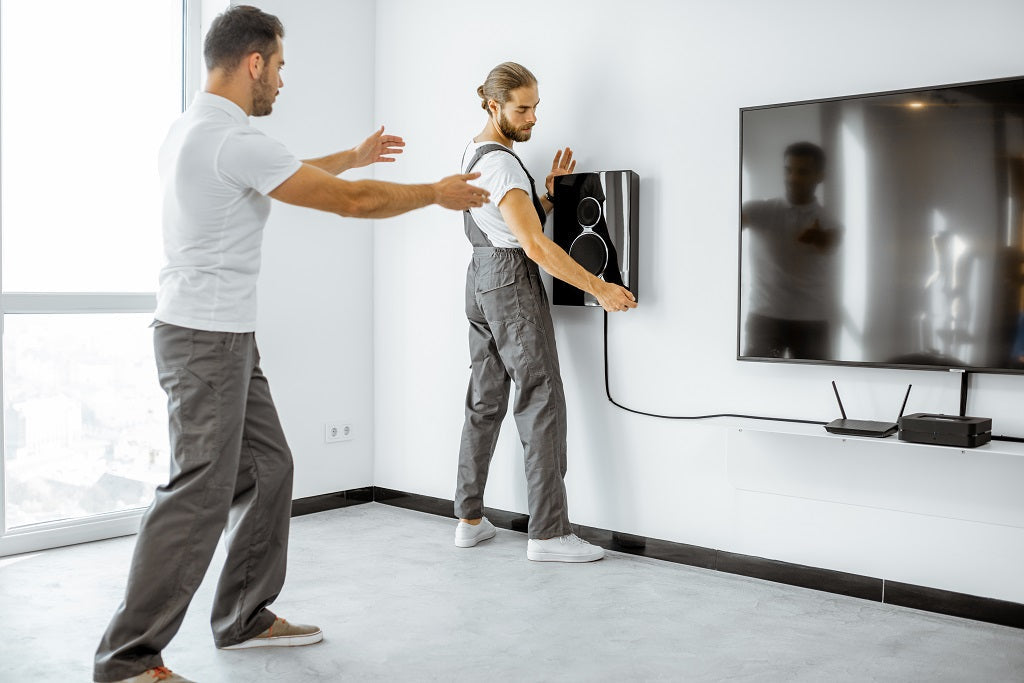
How To Use A Borescope For Home Audio And Video Installation
Streamlining Your Install: Mastering Home Audio and Video Setups with a Borescope
Proper installation of home audio and video installation systems is crucial for optimizing performance, ensuring safety, and enhancing the overall entertainment experience. Correctly placed speakers, secure mounting of TVs, and well-managed cables prevent signal interference and potential hazards. One essential tool for both DIY enthusiasts and professionals is a borescope.
A borescope is a slender, flexible device equipped with a camera and light, designed for inspecting hard-to-reach areas. It allows users to view inside walls, ceilings, and other confined spaces without destructive measures, making it invaluable for running cables, checking connections, and verifying installations. This precision tool ensures thorough inspections, promoting a seamless and effective setup of your home audio and video installation systems.
Benefits of Using a Borescope for AV Installations
Using a borescope camera for audio video installations offers numerous benefits, notably in avoiding common installation errors. By providing a clear view behind walls and ceilings, a borescope helps identify potential obstacles and ensure optimal cable routes, preventing costly mistakes. This tool saves significant time and minimizes physical damage to walls, as it eliminates the need for extensive cutting or drilling to inspect hidden areas. Additionally, a borescope enhances accuracy in wire placement and connection points, ensuring cables are properly routed and connections are securely made. This precision reduces the risk of signal interference and maintains the integrity of the AV system, resulting in a smoother, more efficient installation process.
Choosing the Right Borescope
Choosing the right borescope for home inspection is crucial for effective audio and video installations. Key features to consider include high camera resolution for clear, detailed images, flexibility for navigating tight spaces, and an appropriate insertion tube length to reach necessary inspection areas. For surround-sound setups, a borescope with a moderate tube length and high flexibility is ideal, such as the Teslong NTS500b Wireless Endoscope. For more extensive home theater setups, a model with a longer tube, like the Teslong NTS300 Endoscope, provides the reach needed for comprehensive inspections. High resolution and flexibility, such as that offered by the Teslong TD500 articulating inspection camera, ensure precision in identifying optimal cable routes and connection points, making it a valuable tool for both simple and complex AV installations.
Preparing for Installation
Preparing for a home audio video system installation requires gathering essential tools and materials alongside a borescope. Key items include wire fishing tools for guiding cables through walls, drills for creating necessary openings, markers for precise placement, and a stud finder to avoid structural hazards. Additionally, having tape measures, cable ties, and mounting brackets on hand ensures a smooth installation process. Safety precautions are paramount: turn off power to the installation area to avoid electrical hazards, wear protective gear such as gloves and safety glasses, and ensure proper ventilation. Confirm the structural integrity of walls and ceilings before drilling to prevent damage. Proper preparation and adherence to safety guidelines ensure a safe, efficient, and successful AV system installation.
Step-by-Step Guide to Using a Borescope
Using a borescope for audio and video installations involves a few key steps. First, inspect and plan the pathway for wires by inserting the borescope into walls or ceilings to identify obstacles and ideal routes. Mark these points for reference. When maneuvering the borescope in tight spaces, gently guide it, using its flexibility to navigate bends and corners. Avoid forcing the scope to prevent damage. Utilize the borescope’s camera to capture images or videos, documenting the planned path and any potential issues. These visuals serve as invaluable references during installation, ensuring accuracy and efficiency. Regularly review the footage to confirm the chosen route and make adjustments as needed. By following these steps, you can effectively use a borescope to streamline your AV installation process, ensuring a precise and successful outcome.
Practical Tips and Tricks
Practical tips and tricks can simplify residential audio video installations. When dealing with insulation, use the borescope to identify less dense areas for easier cable routing. For navigating around obstacles like studs or pipes, carefully maneuver the borescope to find clear pathways, and use wire fishing tools to guide cables through these routes. If obstructions are unavoidable, consider rerouting or using surface-mounted raceways.
Post-installation, use the borescope to check the quality of your work. Inspect wire connections to ensure they are secure and verify that cables are correctly placed without kinks or excessive tension. Examine the integrity of any drilled holes or mounting points to confirm stability and safety. This final inspection helps catch any issues early, ensuring a professional and reliable AV system setup.
Shop Teslong Borescopes for Home Audio Video Installation
Using a borescope for home audio and video installations offers numerous benefits, including avoiding common installation errors, saving time, and minimizing wall damage. It enhances accuracy in wire placement and ensures secure connections, contributing to a professional-quality setup. Investing in a quality borescope, such as those offered by Teslong, can significantly improve your DIY installation projects. Teslong products provide high-resolution imaging, flexible insertion tubes, and robust construction, making them ideal for navigating tight spaces and inspecting hidden areas. By incorporating a Teslong borescope into your toolkit, you can achieve precise, efficient, and safe AV installations, elevating your home entertainment experience.
Explore Teslong Products:
